
There’s a special kind of quiet that descends when you’re boondocking miles from the nearest power outlet. The only sound is the wind. And then… click. Your RV’s power inverter shuts off, the fridge goes silent, and the lights die. Suddenly, that peaceful quiet feels a little… powerless.
Honestly, that’s the moment you realize the true value of a well-designed solar power system. It’s not just about running gadgets; it’s about freedom. The freedom to camp where you want, for as long as you want, without being tethered to a crowded, noisy RV park. Let’s dive into how you can capture a little slice of the sun for your own rolling home.
How Does RV Solar Power Even Work? The Simple Breakdown
It’s easy to get lost in the technical weeds, but the core concept is beautifully straightforward. Think of your RV solar system as a self-contained energy garden.
Solar Panels: These are the leaves, soaking up sunlight.
Charge Controller: This is the wise gardener. It takes the raw, sometimes violent power from the sun and gently feeds it to your batteries, preventing them from getting fried.
Batteries: Your energy pantry. They store the power for when you need it—at night, or on a cloudy day.
Inverter: The translator. It takes the DC (Direct Current) power stored in your batteries and converts it into the AC (Alternating Current) power that your standard household appliances crave.
Sizing Your System: It’s All About Your Power Appetite
This is the million-dollar question. Or, well, the several-hundred-dollar question. The biggest mistake people make? They buy panels first. Don’t do that. You need to start with your battery bank. Your batteries are your actual fuel tank; the panels are just the gas station. If your tank is tiny, a huge gas station is pointless.
Step 1: The Energy Audit (The “What Do I Actually Run?” List)
Grab a notepad. For a few days, write down everything you plug in and for how long. Be ruthless. That electric coffee maker might be a bigger power hog than you think.
| Appliance | Average Watts | Hours Used/Day | Daily Watt-Hours |
| LED Lights (x4) | 20W | 4 hours | 80 Wh |
| Laptop | 60W | 3 hours | 180 Wh |
| RV Roof Fan | 50W | 8 hours | 400 Wh |
| 12V Fridge | 60W (avg) | 24 hours (cycling) | ~1440 Wh |
| Total Daily Estimate | ~2100 Wh |
See? That 12V fridge is the real surprise. It’s the anchor of your power budget.
Step 2: Matching Panels to Your Battery Bank
Here’s a rule of thumb that’s served many a van lifer well: you want your solar array to be able to fully recharge your battery bank in a single, decently sunny day. For a typical 200Ah lithium battery bank (about 2560 Watt-hours), a 300 to 400-watt solar array is a great starting point. That gives you enough juice to replenish your daily use, even with some inefficiency.
The Heart of the System: Choosing Your Batteries
This is where the real revolution has happened. For decades, everyone used lead-acid. They’re cheap, but heavy and you can only use about half of their capacity. Today, Lithium Iron Phosphate (LiFePO4) batteries are the gold standard for camper van electrical systems.
Why? They’re lighter, they last thousands of cycles, and you can use almost 100% of their capacity. Sure, the upfront cost is higher. But the peace of mind and performance? It’s a game-changer. It’s the difference between carefully rationing your power and just… living.
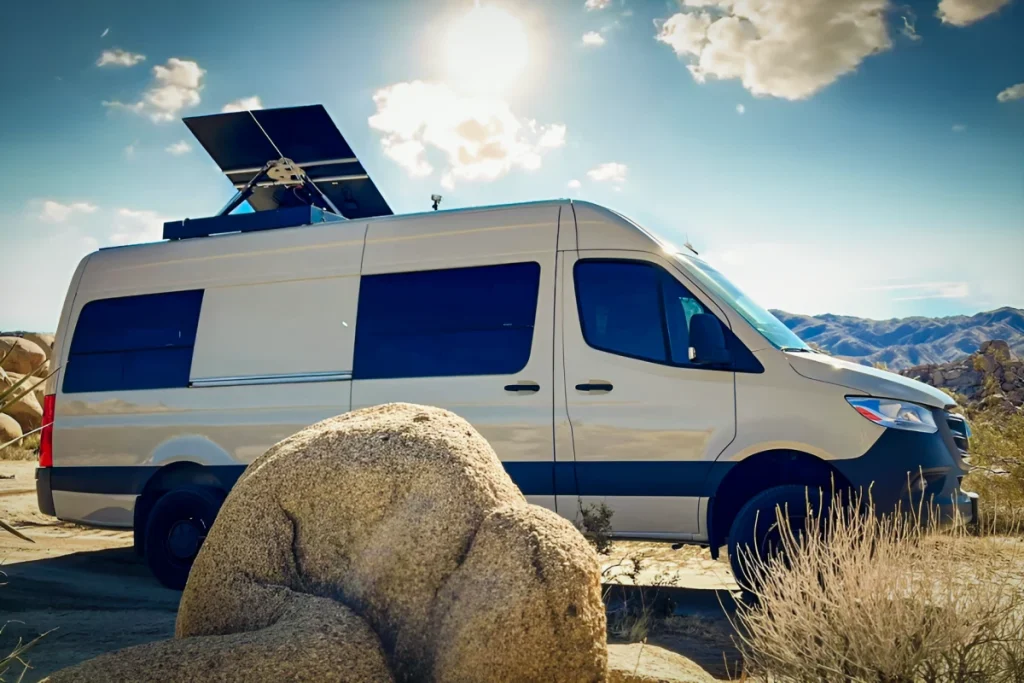
Mounting Options: Stuck On or Laid Down?
You’ve got two main paths here, and the right one depends on your roof and your travel style.
1. Rigid Panels: These are the classic, glass-faced panels. They’re highly efficient and durable. You can mount them permanently with brackets or, a popular trend, use tiltable mounts. Tilting them toward the winter sun can boost your harvest by 20-30%. Seriously.
2. Flexible Panels: These stick directly to your roof with adhesive. The big appeal is a low profile, which is great for clearing low-hanging branches. The downside? They can be less durable and tend to have a shorter lifespan due to heat buildup. They’re a trade-off.
Installation: DIY or Call a Pro?
Let’s be real. Installing an RV solar kit is a medium-difficulty DIY project. If you’re comfortable drilling a hole in your roof (and sealing it perfectly), running wires, and working with electrical components, you can save a bundle.
The key steps are:
- Mount the panels securely.
- Run the wiring through a roof entry gland (that’s the fancy term for a watertight seal).
- Connect the wires to the charge controller, then to the batteries, following the manual exactly.
- Finally, connect the inverter to the batteries.
If any of that sounds like a nightmare, hire a professional. A faulty installation isn’t just an inconvenience; it’s a fire risk. Paying for peace of mind is always a valid choice.
Beyond the Basics: Living with Solar
Okay, so your system is humming. Now what? Living on solar power requires a slight mindset shift. You become an energy farmer. You learn to watch the weather, to run the washing machine when the sun is high, and to appreciate the slow, steady trickle of free energy.
A battery monitor is your best friend here. It’s like the fuel gauge you wish your RV came with. It tells you exactly how much power you have left, how much you’re using, and how much is coming in. It banishes the anxiety of not knowing.
And here’s a pro-tip: shade is your enemy. Even a little shadow on one panel can drastically reduce the output of the whole string. Park in the sun. Use your awning for shade, not your roof.
The Final Connection
Investing in an RV or camper van solar panel setup is about more than just amps and volts. It’s an investment in independence. It’s about waking up in a remote canyon with your coffee maker bubbling away, powered by nothing but the dawn light. It’s about extending your stay by that perfect lake because you can.
The system itself is just hardware—wires, glass, and metal. But the life it enables? That’s the real power. It turns your vehicle from a machine that consumes resources into a vessel that harvests them, quietly and cleanly, from the sky above.